5 Fun Ways To Decorate Your Easter Eggs
by Arbela Capas | Apr. 2, 2020 | 12:00 PM
Morgan Mann
It’s time to crack open some new ideas for Easter egg decorating this year. Sure, we’re fans of the traditional dip dye, but what about all the other quirky ways to make your egg tray come alive?
A Medina-based blogger, craft guru and mother of eight, Kristin Gambaccini is all about thinking outside the box for any seasonal crafts, while constantly hunting for accessible materials that won’t break the bank. “I feel like the dollar store is a treasure trove — you never know what you’re going to find there,” says Gambaccini. She also embraces using items you might already have on-hand in her egg designs, such as tissue paper or even broken crayons.
“We always try new ways to decorate,” she says. “But I think it’s something that my kids look forward to and I think our favorite part at the end is, after a day or two, I crack all the eggs and I make egg salad and it is the most colorful egg salad in the world.”
Pressed Floral
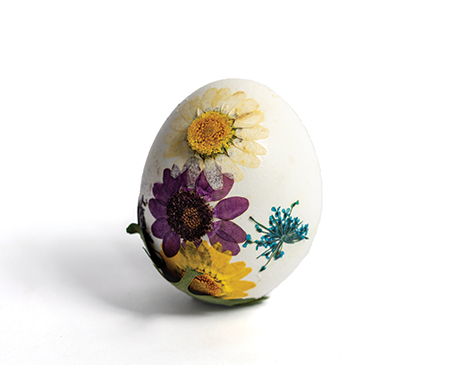
While you can purchase flowers that are already pressed and dried, local blogger Kristin Gambaccini opted to make her own from a $1.99 primrose. “I brought them home, clipped all of the full blooms, and I pressed them myself,” she says. “I just made a flower press out of wood blocks, and I was so excited about how they turned out.”
Step 1: Mix 1 cup white craft glue and 1/3 cup water into a bowl.
Step 2: Apply a thin layer of the glue to spot on the egg where you’d like to add flowers.
Step 3: Using pressed, dried flowers (either purchased online or made at home), carefully place on egg and hold flat for a few seconds.
Step 4: Once dry, gently add another layer of thin glue on top of pressed flower. Allow to fully dry.
Step 5: Repeat process with as many leaves, flowers or petals as desired.
Watercolor
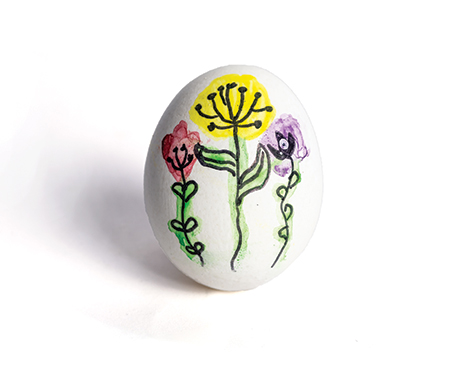
Take the art of watercolor from canvas to eggshell in this effortlessly art deco look. “It’s so forgiving in the fact that if it starts to drip, all you have to do is take a paper towel and press it where it’s dripping,” Gambaccini says. “[The paper towel] will soak it up and it’s like it never happened.”
Step 1: Draw flower stems, leaves and petals with a black sharpie marker. Wait a couple seconds for marker to dry.
Step 2: Use watercolor paint and small brushes to fill in flower.
Step 3: For darker shades or colors, add multiple layers allowing dry time between coats.
Melted Crayon
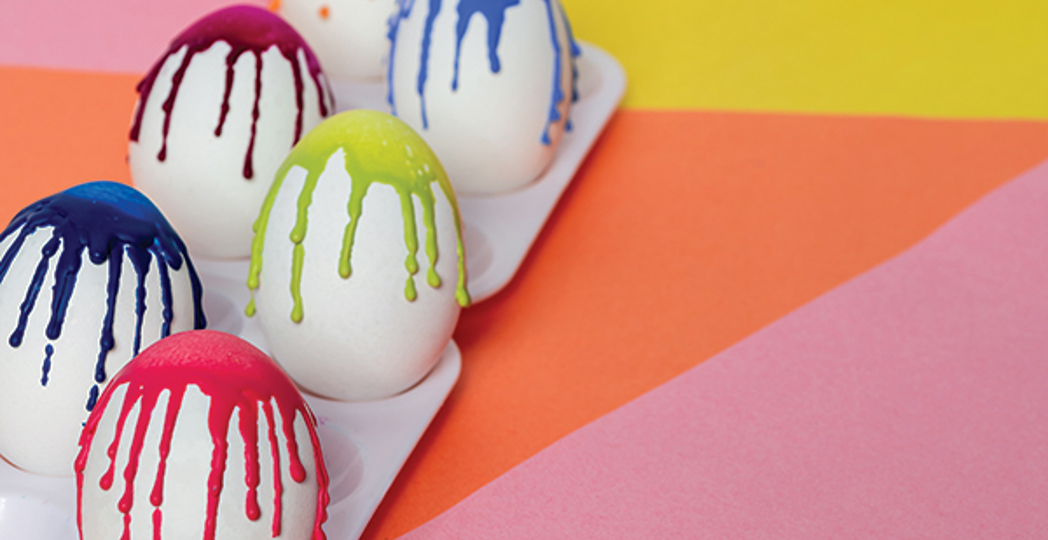
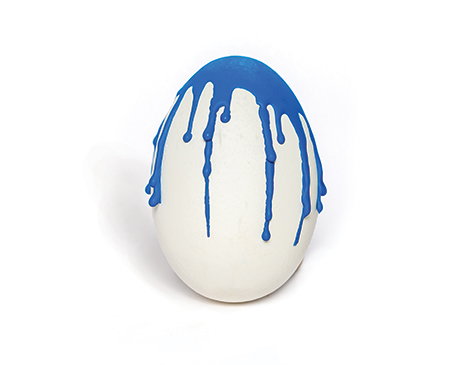
Try this design when you want something more abstract, or the kids just want to watch the wax melt. The best part? You might have the main material already laying around the house. “What’s super great about these — I didn’t have to go out and buy anything because I already had the broken crayons,” Gambaccini says.
Step 1: Cut the bottom of a Dixie cup to create an egg stand to catch the wax. Place on top of newspaper or scrap paper.
Step 2: Using old, broken crayons (or cheap crayons from the dollar store), remove paper labels.
Step 3: Melt crayon over top of the egg using a craft heat gun (or hair dryer).
Step 4: Slowly rotate crayon and move in a circular pattern while melting crayon for best coverage.
Step 5: If you are layering colors, allow each layer to fully dry for about 30 seconds before adding another melted crayon layer.
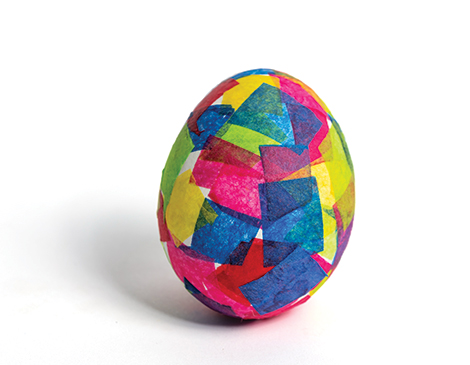
Confetti
Create a confetti-style effect using pieces of bright-colored tissue paper. Don’t worry about cutting or tearing uniform pieces — the more abstract looking, the better. “You can do squares, triangles, you could even use an oversized hole punch and create circles, so in that sense it’s a lot easier because it’s not perfect,” she says.
Step 1: Mix 1 cup white craft glue and 1/3 cup water into a bowl.
Step 2: Using different colored tissue paper, cut 1- to 2-inch squares using sharp scissors. Cut as many pieces as needed to cover the egg.
Step 3: One at a time, completely dip each tissue paper square into glue.
Step 4: Using your fingers, take a single piece of confetti and place it on the egg, one at a time, overlapping pieces. Allow to fully dry.
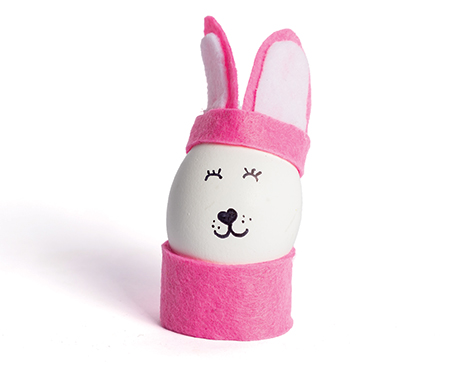
Costume Bunny
Taking inspiration from Easter’s mascot, this 100% mess-free design is a quick way to create a perfect table centerpiece. “I just imagine it being on an Easter table where everybody has their little bunny eggs on their plate and it’s just a stand-alone thing,” she says.
Step 1: Using felt fabric, cut an approximate 10-by-1-inch strip for the base.
Step 2: Apply a 2-inch-wide strip of hot glue or craft glue on one end of fabric before securing with other end. The strip should overlap itself in the ring to allow a bit of extra support for the egg.
Step 3: Cut another piece of felt fabric, about 6-by-1/2-inch, for the headband. This strip should also overlap a bit after gluing.
Step 4: Trace and cut bunny ears 1 to 2 inches long (for floppier ears, cut a bigger piece) in same color felt as base. Trace and cut the inside of the ears in white felt fabric.
Step 5: Glue white felt fabric into the inside of bunny ears, then attach bunny ears to interior of headband ring with glue. Let dry.
Step 6: Add bunny nose, eyes and whiskers with black sharpie marker.

