Home & Style
How to CLE
Make crafty gifts this holiday season with these independent, local workshops.
by Rachel Kalayjian | Oct. 20, 2014 | 4:00 AM

To Peter Debelak and Jim McNaughton, woodworking is an expression of one's soul. At their Soulcraft Woodshop in the Hildebrandt Building, you can tap into that inner craftsperson by making this wooden pallet coffee table in the by-appointment intro to furniture making class. "In a Rust Belt town like Cleveland, there is such a wealth of quality and unique material," says Debelak. "They are cheap and have a unique design element that you can't find with store-bought materials."
Rust Belt Coffee Table
Hand-sculpted Ornaments
If grade school paper ornaments comprise most of your holiday collection, let ceramics artist Gina DeSantis provide an upgrade during workshops Nov. 9, 16 and 28 in her Screw Factory studio. Knead a hunk of stoneware clay for two to three minutes to remove air bubbles. "Hand building allows you to get a feel for the clay medium," says DeSantis. Use a roller to flatten clay into a 1/4-inch slab. Choose from an assortment of cookie cutters, including snowflakes and hearts, to shape your clay. Pinch out a small hole at the top using a chopstick but not too close to the edges. After your ornament has dried, fire it at 1,800 degrees. Apply your choice of glaze using a paintbrush. "We have 15 glazes that make 250 combinations," DeSantis says. Fire it again at 2,300 degrees. Thread a ribbon through hole, and it's ready to hang.
Cuff Bracelet
Still feeling creative? Try your hand at one of these other crafty workshops.
Sewing Boot Camp
Dust the cobwebs off your old sewing machine and learn the basic by creating your own tote bag.
$160, Saturdays, 10.a.m.-noon, Stitch Cleveland, 18117 Detroit Ave., Lakewood, 216-220-4808, stitchcleveland.com
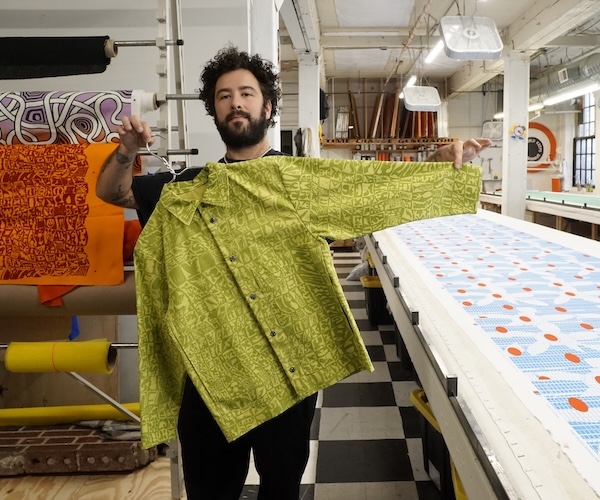
Printing Class
Learn the trick to screen-printing by using Xerox lithography paper to your own custom prints.
$75, Nov. 8, 2-4 p.m., Zygote Press, 1410 E. 30th St., Cleveland, 216-621-2900, zygotepress.com
Photogram Workshop
No technology here. Use only paper and light to make a photographic image.
$40, Nov. 8, noon-2 p.m., Cleveland Print Room, 2550 Superior Ave E, Cleveland, 216-401-5981, clevelandprintroom.com
For Your Eyes Only Class
Incorporate scraps of paper, cardstock and old book covers into a refurbished, collaged book while learning no-sew binding.
$130, Nov. 9, 10 a.m.-5 p.m., Small Studio, 26113 Detroit Road, Westlake, smallstudioproductions.com
Art Journaling Class
Refine those doodles and chicken scratches by trying out some creative journaling tips from Hudson artist Karen Koch.
$25, Nov. 19 and 26, 10 a.m.-noon or 6:30-8:30p.m., Life Needs Art, 220 N. Main St., Hudson, 216-789-2751
Stained Glass Workshop
Artist Sheree Ferrato teaches you how to cut glass, use a light table, and choose your design to make a stained glass masterpiece.
$160, Tuesdays 5:30 p.m., Thursdays 4:30 p.m., 34340 Mills Road, Avon, 440- 731-8026, experiencedays.com
Leg Lamp Workshop
Learn the step-by-step instructions for creating your own replica of the classic leg lamp featured in 1983 comedy, A Christmas Story.
Free with purchase of food and beverag, Nov. 5, 6-9 p.m., Rockside Corners, The Blonde Martini & Wine Establishment, 6901 Rockside Road, Independence, artistsuncorkd.com
Glass Blowing Class
Begin the fundamentals of glass blowing by learning how work with a furnace and use primary tools, all while making a paperweight and vessels.
$125, Days vary, 10.a.m.-6 p.m., 2421 Bridge Ave., Cleveland, 216-696-7043, glassbubbleproject.com
Trending
-
1
-
2
-
3
-
4
-
5