How To Refurbish Your Favorite Chair
by Dylan Tanner | Mar. 27, 2019 | 12:00 PM

Austin Cupach
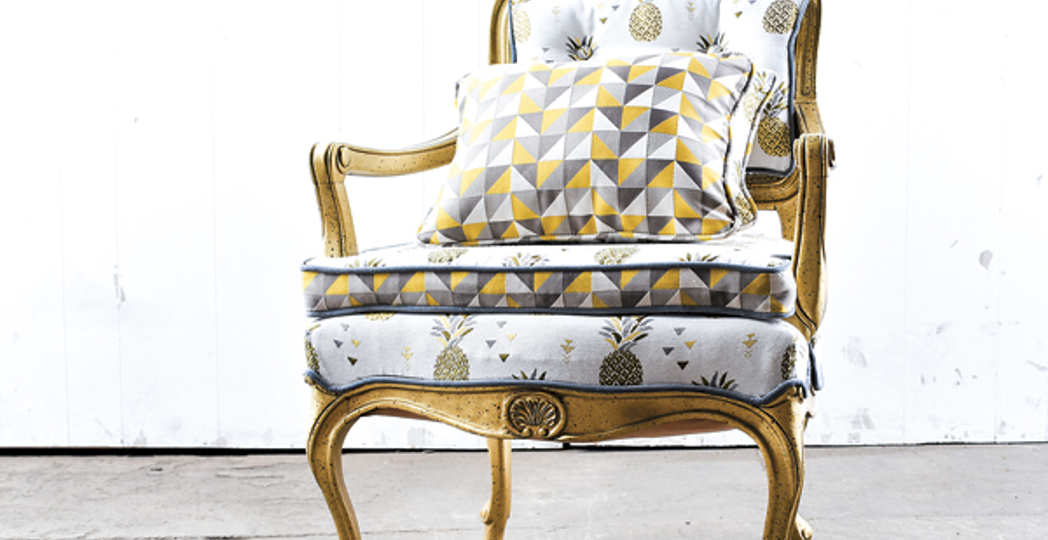
Giving new life to that old dining room chair you found in Grandma’s attic requires a little know-how, says VNTG Home owner Megan Featherston. She’s a pro at refurbishing vintage and custom pieces — and has a 65,000-square-foot warehouse near AsiaTown filled with upcycled chairs, sofas and more to prove it. But for first-timers, the art of reupholstering a chair with new padding and an updated fabric can be intimidating. “Be prepared for speed bumps,” she says. The art of creating smooth lines and a sturdy base takes practice, but the hard work will be worth the memories it evokes. Featherston shares her DIY tips.
Gather Supplies
You’ll need scissors, a staple gun and remover, a hammer, pliers, screwdrivers, gloves, spray-adhesive glue, Dacron wrap, foam and your chosen fabric. Featherston recommends getting artsy with the colors and prints. “Mix fabric. Your chairs don’t all have to be the same.”
Tear Down
Unscrew the chair’s frame and remove the staples and tacks around it, freeing the fabric. “You want to loosen them and then pull them with the pliers,” says Featherston. “Be careful not to scratch the wood.”
Clean Cuts
Clean the frame and then trace it on top of the 2-inch foam. Then cut the foam with a knife, before gluing the foam to the frame. Finally, place the Dacron wrap over the foam.
Staples Center
Staple along the frame. Start in the center and work to the corners, cutting any excess. “It’s almost like wrapping a Christmas present,” says Featherston.
Home Stretch
Measure the fabric to fit over the frame, making sure the pattern looks perfect, and cut. Then, staple inch-by-inch across each side, stopping an inch from the corners. Smooth the fabric with your hand as you go.
Take a Seat
Finish by stapling each corner, making sure the fabric has a consistent tension on the seat. Finally, cut the excess fabric off, and reattach the newly upholstered seat to the chair.
Trending
-
1
-
2
-
3
-
4
-
5


